CASE STUDY
Materialise Software and GE Sensing Technology Push the Qualification of AM

Additive manufacturing (AM) is a manufacturing technique perfectly suited for the production of complex, functional parts. Large companies in the aerospace and medical industry have demonstrated interesting cases of how AM can be used to reduce costs and weight, as well as adding functionality. Yet, the qualification process remains one of the most important challenges when implementing the technology.
Without a fast, high-quality and automated AM process, companies can’t scale up production successfully. This qualification process should be as cost-effective as possible, meaning that the Non-Destructive Testing (NDT) costs of AM should be as low as possible. But how can you ensure consistency and repeatability throughout the entire manufacturing process? It’s all about leveraging large amounts of data to deeply understand the hardware.
Combining AM software with CT machining to speed up validation
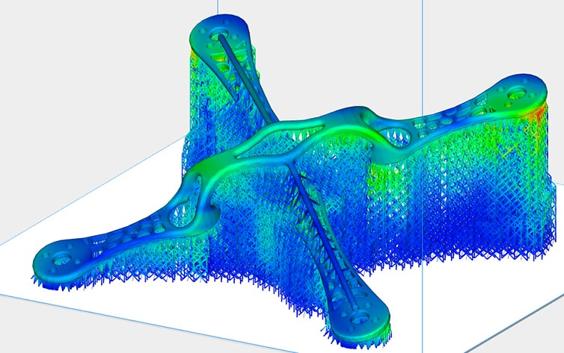
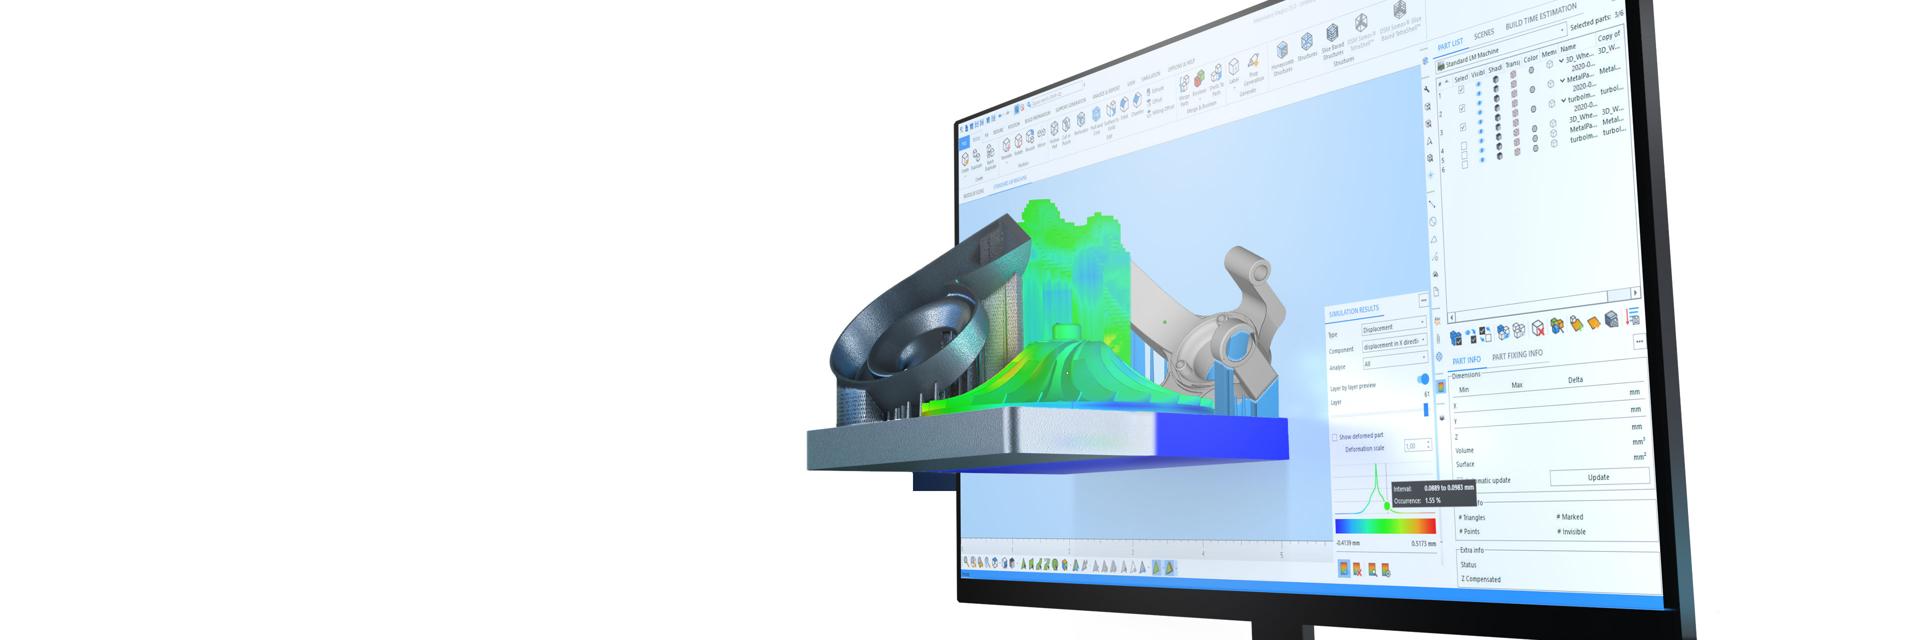
By working together with GE Sensing, we were able to accelerate the validation of AM parts and reduce NDT costs substantially. During the qualification phase we took CT scans of metal aerospace parts with GE’s highly accurate and scatter-correct CT machine solutions and analyzed the parts for printing errors with our AM process simulation and in-process inspection software.
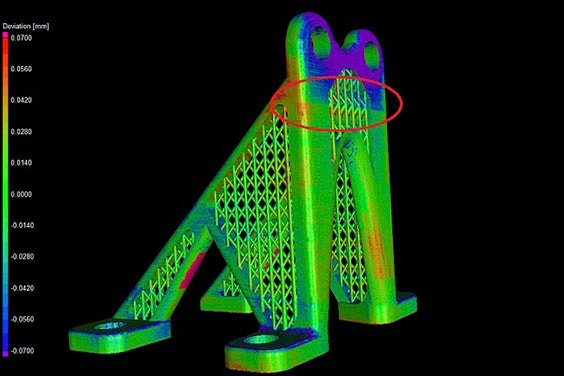
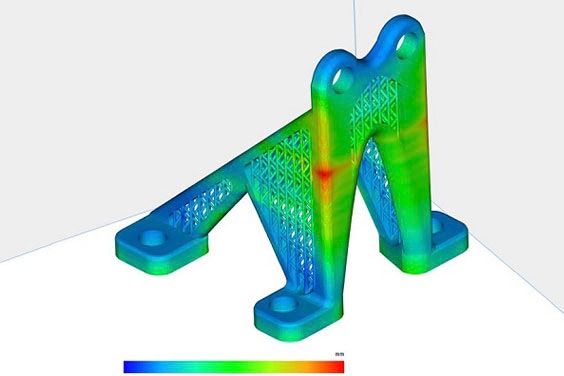
This showed that our software was capable of predicting the effects of the AM process and defining regions of interest and possible types of printing errors in advance. The software also helped to quickly identify why these errors occurred and how to avoid them in the next build. After taking a CT scan of the titanium aerospace part below, we noticed a clearly visible stress line. This stress line could be recognized when looking at the simulation results. Simulating a build beforehand increases the chances of predicting and avoiding distortion in your finished results.


CT scan from GE Sensing machine and Materialise simulation
In addition, the CT scans indicated a small deviation located at the feet of the part. This deviation is not visible to the naked eye. We can explain this through the fact that the build was stopped because a part on the same build platform crashed. The deviation in the part was found exactly at the height where the build was paused to remove (stop building) the failing part. Thanks to the online error detection functionality of Materialise Inspector, the build operator received a warning that there was something wrong with a part. After removing this part, printing the aerospace part could continue.
These and other valuable machine learning insights showed exactly where the problem was situated, decreasing the lead time of this printing project from 9 to 6 weeks and leading to a cost reduction of several thousand euros.
Consequences for the future
By systematically collecting data from the different building blocks of the workflow with Materialise’s software platform, several benefits emerge.
AM users are able to qualify their manufacturing parts more cost-effectively and faster than before. Using AM process simulation analysis and correlating their in-process AM data with highly accurate CT data, gives users unprecedented insights for a root cause analysis of the quality issues of AM parts. Users can better understand the physics behind three recurring problems: stress lines, porosity and warpage. This makes it possible to find the right orientation and proper process parameters faster and more easily.
Engineers that contribute to the creation of 3D printing machines can explore AM processes more in-depth (when using Materialise’s Control Platform) and stabilize them with confidence.
CT Quality Engineers can apply the results of AM data analysis to define a more effective and efficient quality and testing program when moving from qualification to serial manufacturing.
Share on:
This case study in a few words
Aerospace
3DP Service Bureaus
Materialise Magics simulation
Control Platform
Inspector
How to achieve a cost-effective qualification process
